Invest in Our Planet with a Pollinator Garden
Step-by-step guide + a little sweat equity = a lot of enjoyment with this fun Earth Day project

How will you celebrate Earth Day this year? If you’re at a loss for ideas, we’ve got a solution that’s perfect for teambuilding with coworkers, enhancing your residential community, or creating a hands-on educational activity for kids. Get ready to get your hands dirty and have some fun. We’re going to show you how to build a pollinator garden!
The Benefits of a Pollinator Garden
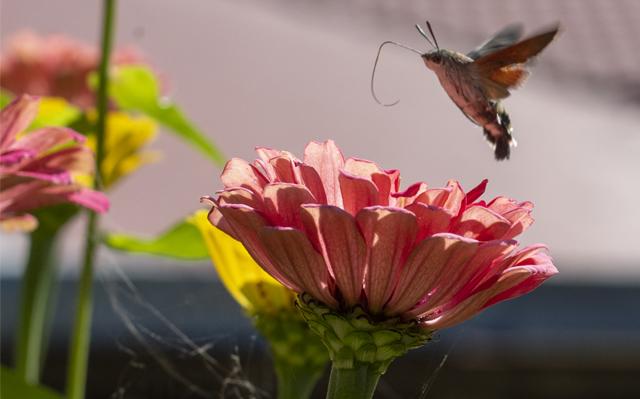
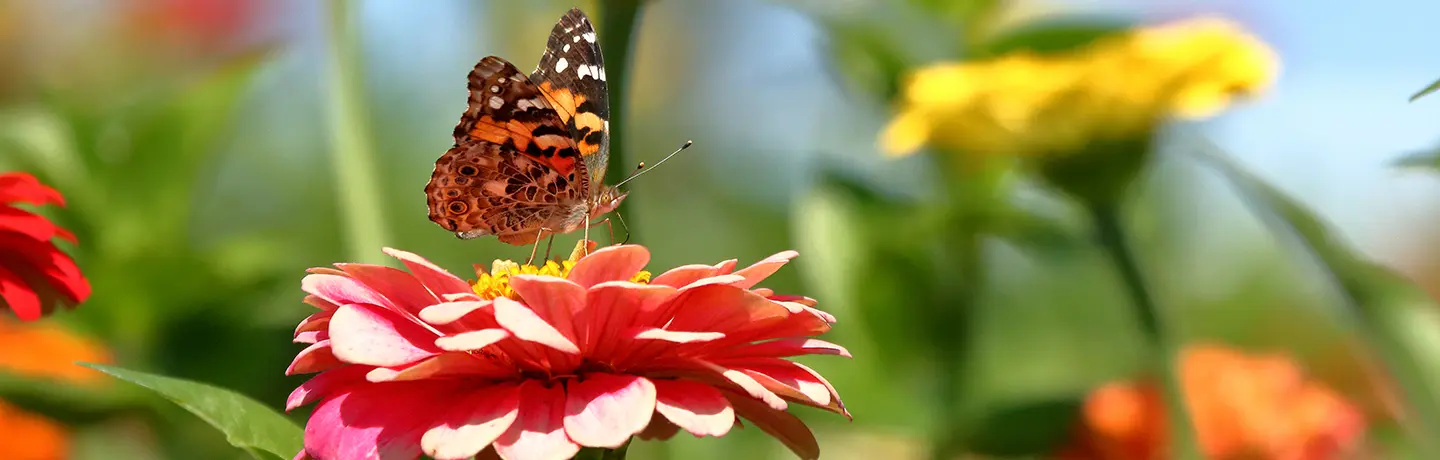
The theme of this year’s Earth Day celebration is “Invest in our Planet,” which invites us all to act boldly, innovate, and implement solutions. Pollinator gardens are an easy way to make an investment that will pay dividends for years to come, both in appearance and benefit to the environment. Pollinators-- which includes insects like bees, moths, butterflies, and small mammals like bats-- play a critical role in the growth of crops and plants. This contributes to the overall health of our ecosystem, from the quality of our soil to the cleanliness of our air.
In recent years, pollinator populations have been in decline worldwide due to loss of habitat, invasive species, poor nutrition and pesticides. You can help reverse that trend by creating a pollinator garden.
How to Create a Pollinator Garden
In just 5 easy steps you’ll have a beautiful garden to enjoy all year-round. Grab your gardening gloves and a trowel. Let’s get started!
Step 1: Select a Location
Find a spot that offers protection from wind. It can be shady or sunny; just take note of how much sun the location receives and at what time of day as this will inform the plants you choose. You’ll also want to take note of the type of soil you have, such sandy, rocky, or clay, for the same reason. And finally, consider whether the location may need protection from deer or rodents. If restricting their access isn’t possible, you can select plants resistant to the critter in question in the next step.
Short on space? Not a problem! Your pollinator garden doesn’t have to be large to make an impact. Consider a container garden, which has the added benefit of being movable. You can even have each participant plant their own small container to take home.
Step 2: Select Your Plants
Find native pollinator-friendly plants that are well-suited to your region and the conditions of your planting site. Check out these handy pollinator planting guide cards for each region, provided by the National Park Service, for helpful suggestions on plants that will work well in your area. Seeds or plants are both fine choices, but keep in mind if you choose seeds, you’ll need to wait until fall or late winter to plant so they have time to germinate ahead of the summer growing season.
As you decide what to plant, consider bloom time and color. By planting a diverse mix of colors, annuals, and perennials, you’ll have a colorful variety of blooms throughout the year. Just be sure to group plants of the same kind together, which makes it easier for pollinators to find. You might also want to add some host plants for butterfly larva, which will increase the butterflies present in your garden. Research the foods butterflies in your area like to eat. For example, monarch caterpillars only eat milkweed.
Step 3: Prep the Site
If you’ll be planting in-ground, clear any existing plants, especially invasive species. Then, till the soil to make planting easier. Finish with a layer of topsoil, followed by an inch or two of organic compost if available.
For container planting, select a pot with drainage holes, or use a drill to add one to the bottom. Then, fill the pot with a high-quality potting soil. Plan for each container to hold plants with similar needs for sun and water to ensure long-term success.
Step 4: Plant!
Layout or sketch how you plan to arrange your plants before you begin to dig. Planting in a dense arrangement-- roughly 1 plant every square foot-- will help deter weeds and make watering more effective and economical. Place taller plants toward the middle and shorter plants on the outside to maintain easy access throughout.
Step 5: Maintain & Enjoy
Take note of the care instructions for each plant and water as specified. Some may need extra watering as the plants get established. If weeds appear, remove them by hand instead of using weed killers, which could harm the pollinators. For the same reason, you’ll also want to avoid using pesticides or chemical fertilizers.
In the fall, leave dead stalks or cut back no lower than 15” tall, so pollinators can use them for shelter or to lay eggs. Deadheading-- which means removing spent flowers-- can help tidy up your garden and encourage more blooms, however it’s a matter of preference. Some people like to leave the expired flowers as food for hungry birds.
And that’s it! Five easy steps to make an impact this Earth Day both you and Mother Nature can enjoy. If you’re looking to take it one step further, add a bench or seating nearby for prime wildlife watching. Enjoy the returns on your Earth Day investment!